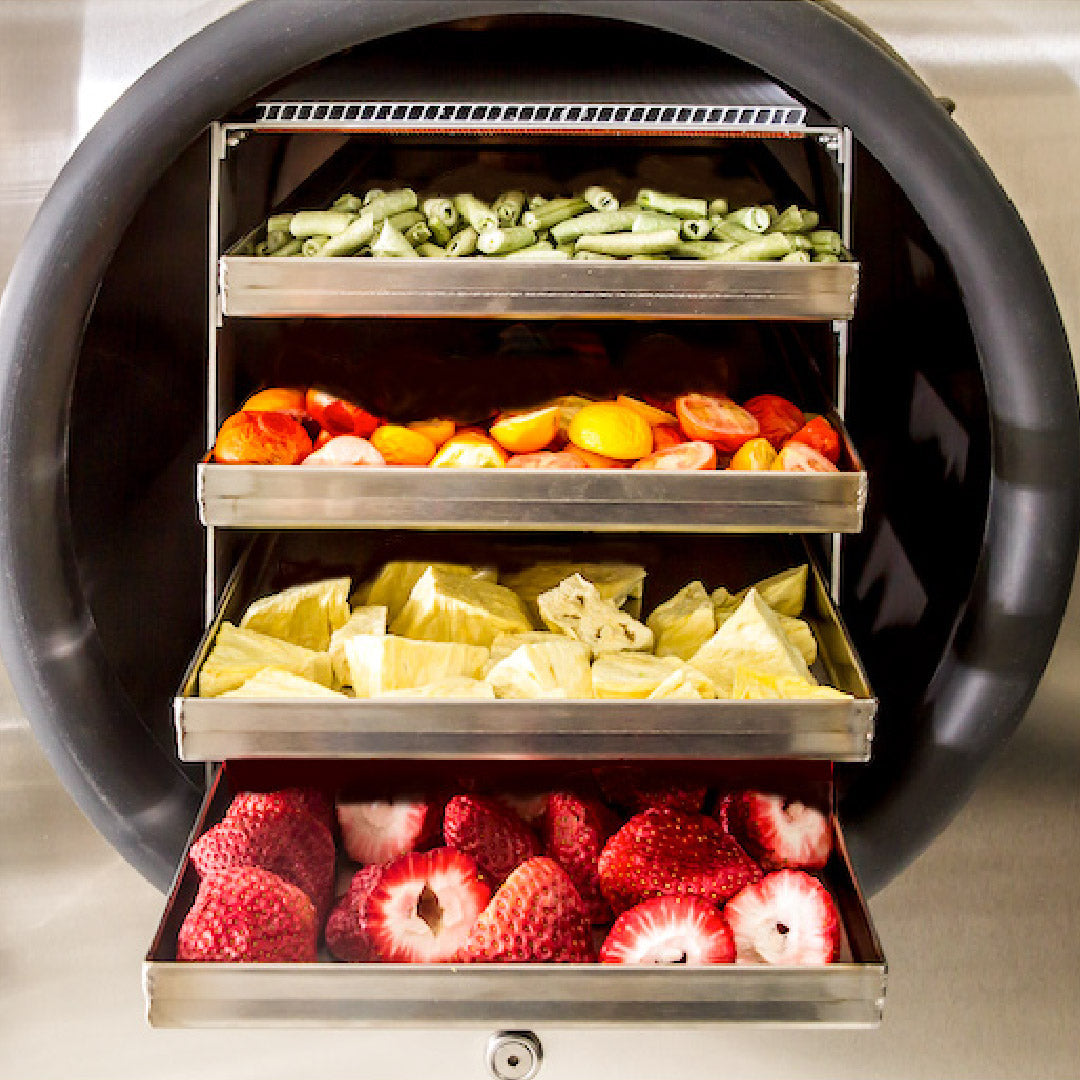
Freeze drying food at home has become increasingly popular for meal preppers, gardeners, homesteaders, and anyone who wants to reduce food waste while stocking up on healthy, shelf-stable meals. With modern freeze dryers like those from Harvest Right, the process is surprisingly easy. In this step-by-step guide, we’ll walk you through how to freeze dry food at home — from preparation to packaging — so you can get the most out of your machine.
Step 1: Choose and Prepare Your Food
Not every food freezes dry equally well, but many are perfect candidates. Great options include:
-
Fruits (berries, bananas, apples, mango)
-
Vegetables (peas, corn, bell peppers, carrots)
-
Cooked meals (soups, stews, casseroles)
-
Dairy products (yogurt, cheese)
-
Meats (cooked chicken, beef, or turkey)

Preparation Tips:
-
Wash and dry fruits and vegetables thoroughly.
-
Cut food into small, uniform pieces to ensure even drying.
-
Blanch vegetables like broccoli or green beans to help preserve color and texture.
-
Pre-freeze food on trays if you’d like to speed up the process.
Step 2: Load the Freeze Dryer
Once your food is ready:
-
Arrange food on the stainless steel trays in a single, even layer. Avoid stacking.
-
Place the trays in your freeze dryer.
-
Close the door securely and double-check the seal.
Step 3: Start the Freeze Drying Process
-
On the touch screen, select whether your food is pre-frozen or not.
-
Press start, and the machine will automatically run through its freezing, vacuum, and drying cycles.
-
The entire process can take anywhere from 20 to 40 hours, depending on the food type, thickness, and batch size.
Tip: Avoid opening the door during the cycle; the machine will alert you when it's finished.
Step 4: Check for Complete Dryness
When the cycle finishes, you’ll be prompted to check your food.
-
Break or touch larger pieces — they should be completely dry and brittle with no cold or moisture inside.
-
If you find moisture, simply add extra dry time using the machine’s settings.
Step 5: Package Your Freeze-Dried Food
Proper storage is key to maintaining freshness and shelf life:
-
Store food in Mylar bags, vacuum-sealed jars, or airtight containers.
-
Always include oxygen absorbers in each bag or jar to protect from moisture.
-
Label each package with the food type and date for easy inventory tracking.
Step 6: Store and Enjoy
Once sealed, store your freeze-dried food in a cool, dark place. With proper packaging, most freeze-dried foods can last 20–25 years!
Frequently Asked Questions
Q: How do I know how long to freeze dry different foods?
The freeze dryer will automatically determine drying time, but general guidelines are:
-
Fruits: 20–30 hours
-
Vegetables: 24–36 hours
-
Cooked meals: 30–40 hours
Q: Can I freeze dry liquids like soups or sauces?
Yes! Just pour them onto parchment-lined trays in shallow layers.
Q: How do I rehydrate freeze-dried food?
Add water slowly until the food returns to its original texture. For soups and stews, simply add hot water and stir.
Conclusion
Freeze drying food at home is one of the most rewarding ways to preserve fresh ingredients, reduce waste, and build an emergency food supply. With a Harvest Right freeze dryer and a bit of preparation, you can easily store healthy, delicious food for decades.
👉 Ready to get started? Shop freeze dryers and accessories now at Juicerville.com and begin your home freeze drying journey!

