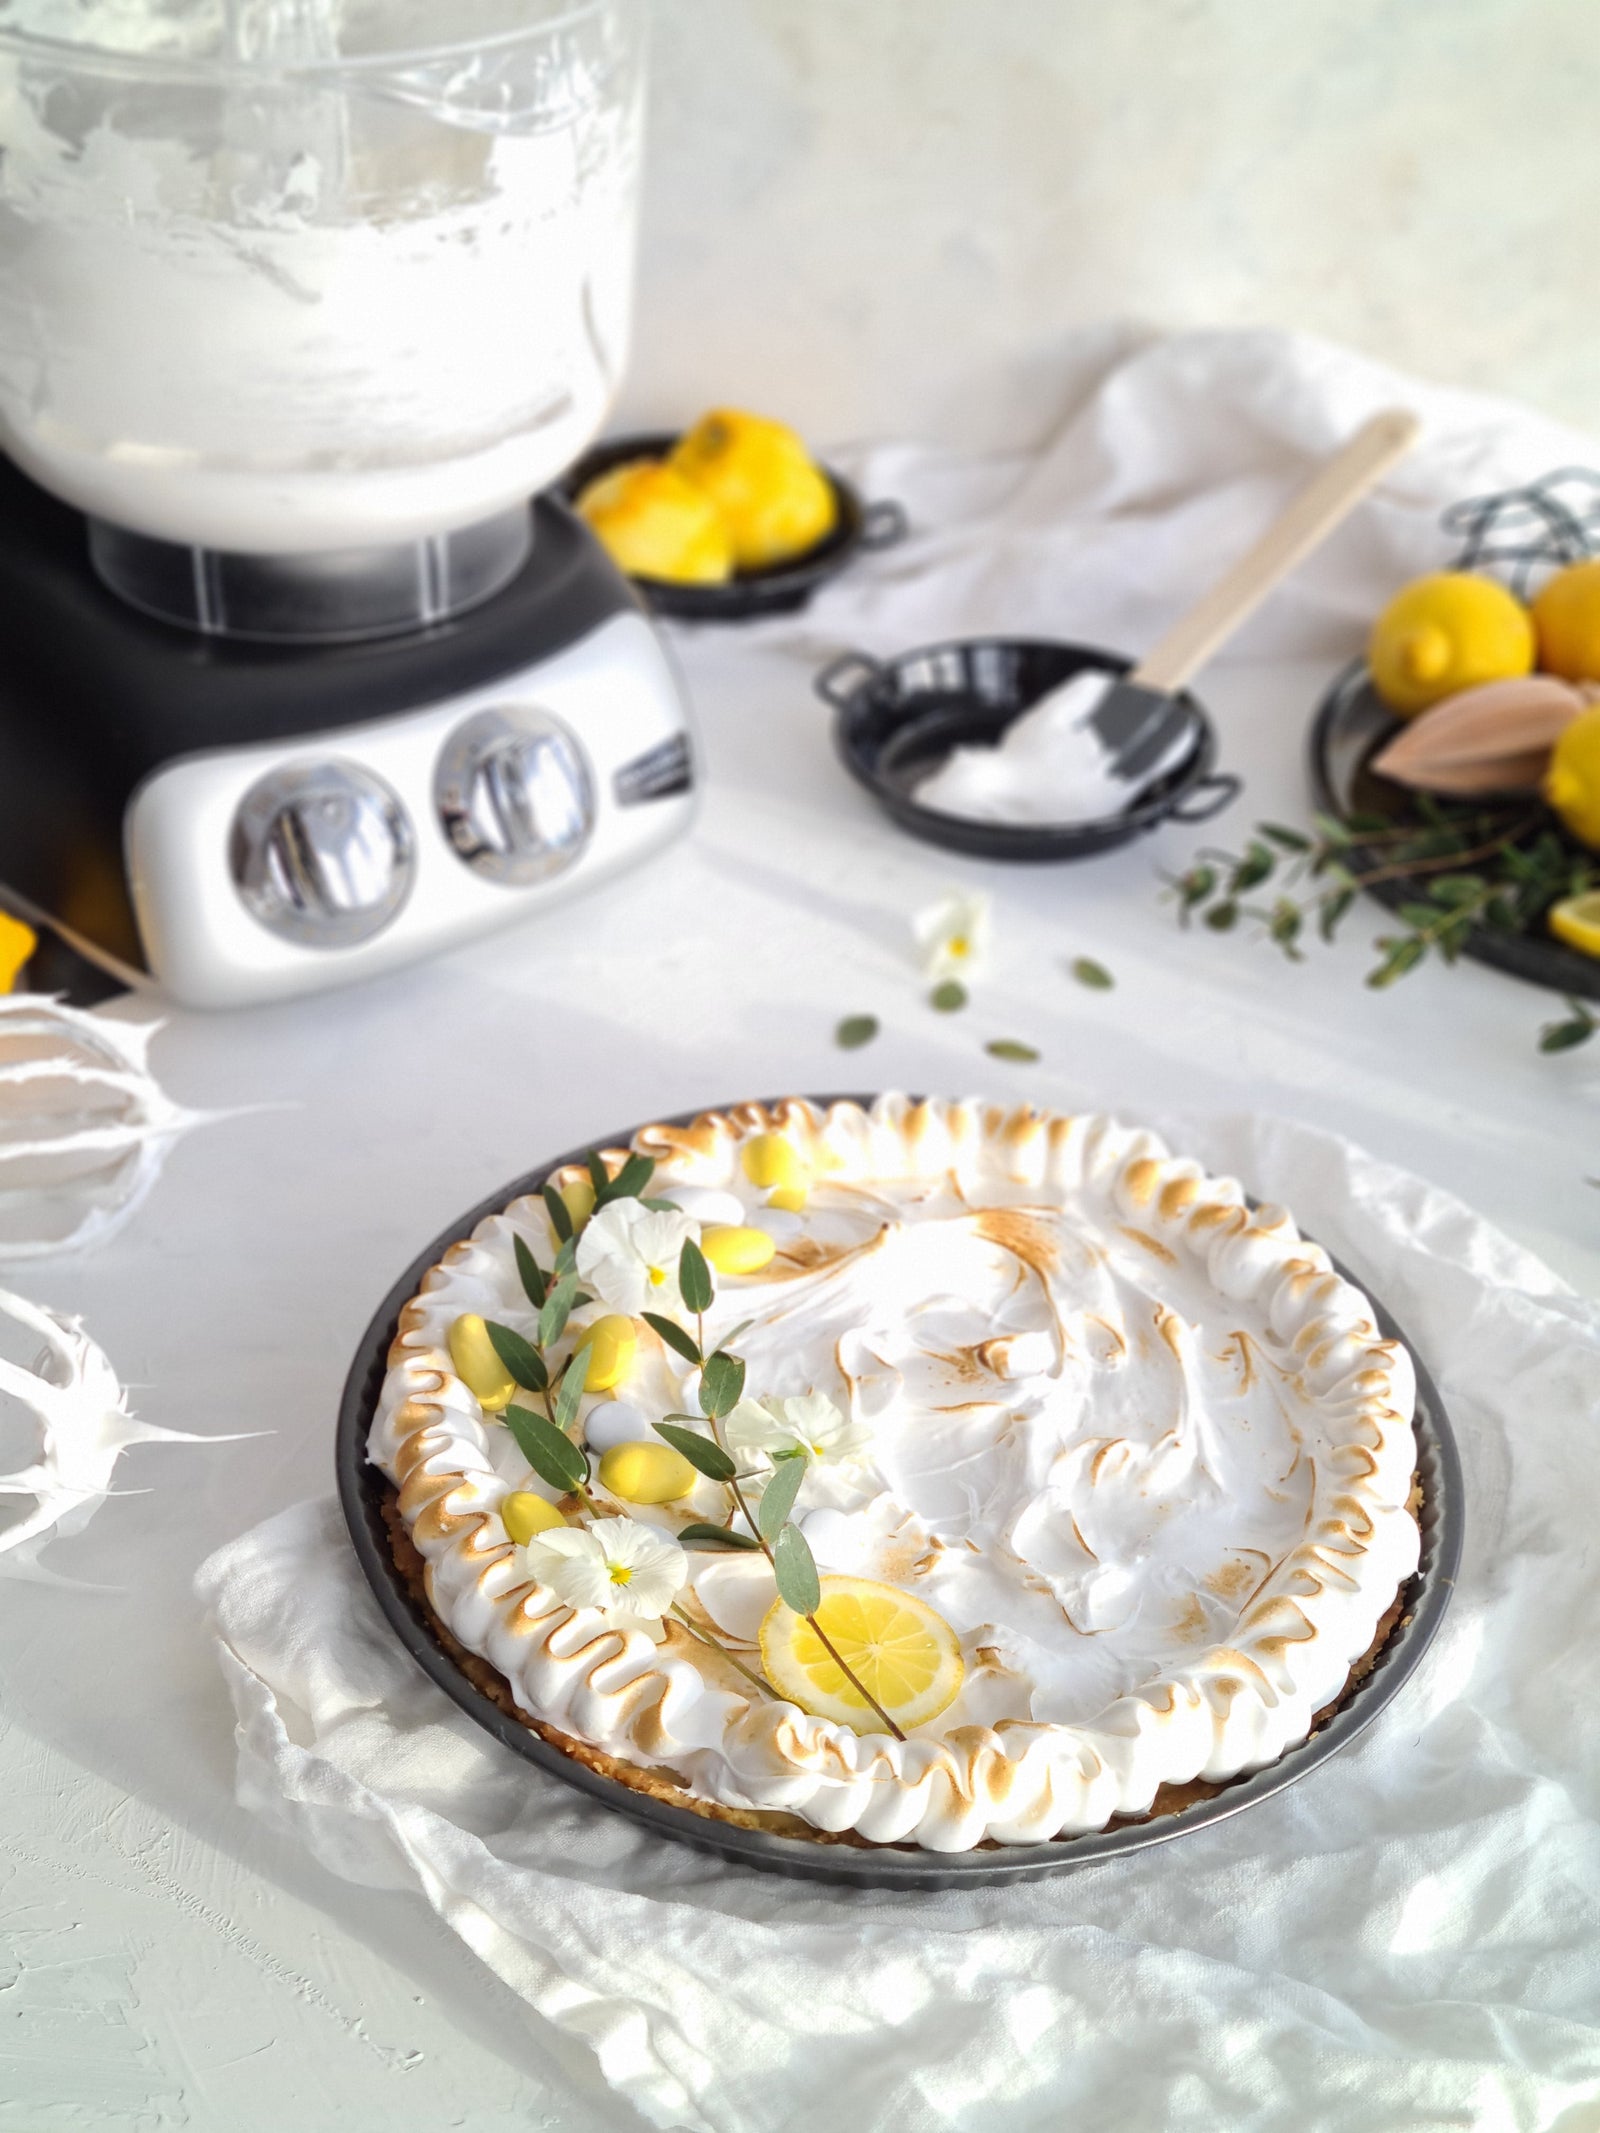
So you’ve just unboxed your Ankarsrum Assistent Original—congratulations! Whether you’re a seasoned home baker or just starting your culinary journey, this versatile mixer is a game-changer in the kitchen.
But with its unique design and European engineering, it may feel a little different from the stand mixers you’re used to. Don’t worry—once you understand how it works, you’ll wonder how you ever lived without it. This beginner-friendly guide walks you through the basics, so you can start using your Ankarsrum mixer like a pro.
Step 1: Get to Know the Parts
The Ankarsrum mixer comes with a range of parts depending on the bundle you purchased, but the main components include:
-
7-liter stainless steel bowl (for bread and heavy doughs)
-
3.5-liter BPA-free plastic bowl (for whipping and lighter tasks)
-
Roller, scraper, dough hook, and double whisks
-
Speed and timer dials
-
Optional attachments (e.g., meat grinder, blender, slicer/shredder, etc.)
Familiarize yourself with these parts and their purposes. The roller and scraper are your best friends for bread dough, while the whisk bowl is perfect for cakes, meringues, and creams.
Step 2: Assembling the Mixer for Dough Making
To make dough (like bread or pizza), follow these steps:
-
Attach the stainless steel bowl to the base.
-
Insert the dough roller into the center post and lock it into place.
-
Clip the side scraper into its mount on the inside wall of the bowl.
-
Adjust the arm so the roller is resting lightly against the edge of the bowl.
When turned on, the bowl rotates while the roller kneads and the scraper ensures ingredients don’t stick to the sides. This mimics hand-kneading for a smooth, even dough.
Step 3: Mixing Batter or Whipping Cream
For lighter mixtures, use the whisk bowl and attachments:
-
Attach the 3.5-liter plastic bowl.
-
Insert the whisk drive into the motor base.
-
Place the double balloon whisks on top.
Use this setup for egg whites, whipped cream, pancake batter, and cake mixes. Start at a lower speed and gradually increase as needed.
Step 4: Using the Controls
The Ankarsrum features two knobs:
-
Timer knob (left): Lets you set how long the mixer will run, up to 12 minutes.
-
Speed knob (right): Controls how fast the bowl spins. Start slow, especially for dough, then adjust as needed.
There’s no “on/off” button—simply turn the timer to start the mixer. If you want to run it manually, turn the timer knob to the “M” setting (manual).
Step 5: Cleaning Up
Most components of the Ankarsrum mixer are easy to clean:
-
Stainless steel bowl and plastic bowl: Dishwasher-safe or quick to rinse by hand.
-
Whisks, dough roller, hook, and scraper: Also dishwasher-safe.
-
Wipe the base with a damp cloth—avoid submerging it in water.
The open-top design makes it easy to scrape down sides and access ingredients mid-mix, which also helps keep things tidy.
Step 6: Explore Attachments
Once you're comfortable with the basics, you can expand your culinary possibilities with attachments like:
-
Meat grinder
-
Vegetable slicer/shredder
-
Blender
-
Citrus press
-
Pasta rollers
Each attachment comes with simple instructions and lets you transform your Ankarsrum into an all-in-one kitchen assistant.
Final Tips for Success
-
Start slow. Ankarsrum mixers are powerful—gradually increase speed to avoid flour clouds or splatter.
-
Don’t overload. While it handles large batches well, follow recipe guidelines for best results.
-
Practice makes perfect. The more you use it, the more you’ll appreciate its design and performance.
Once you’ve mastered the Ankarsrum mixer, you'll find it's not just a tool—it’s a baking partner that makes every recipe feel easier and more enjoyable.

