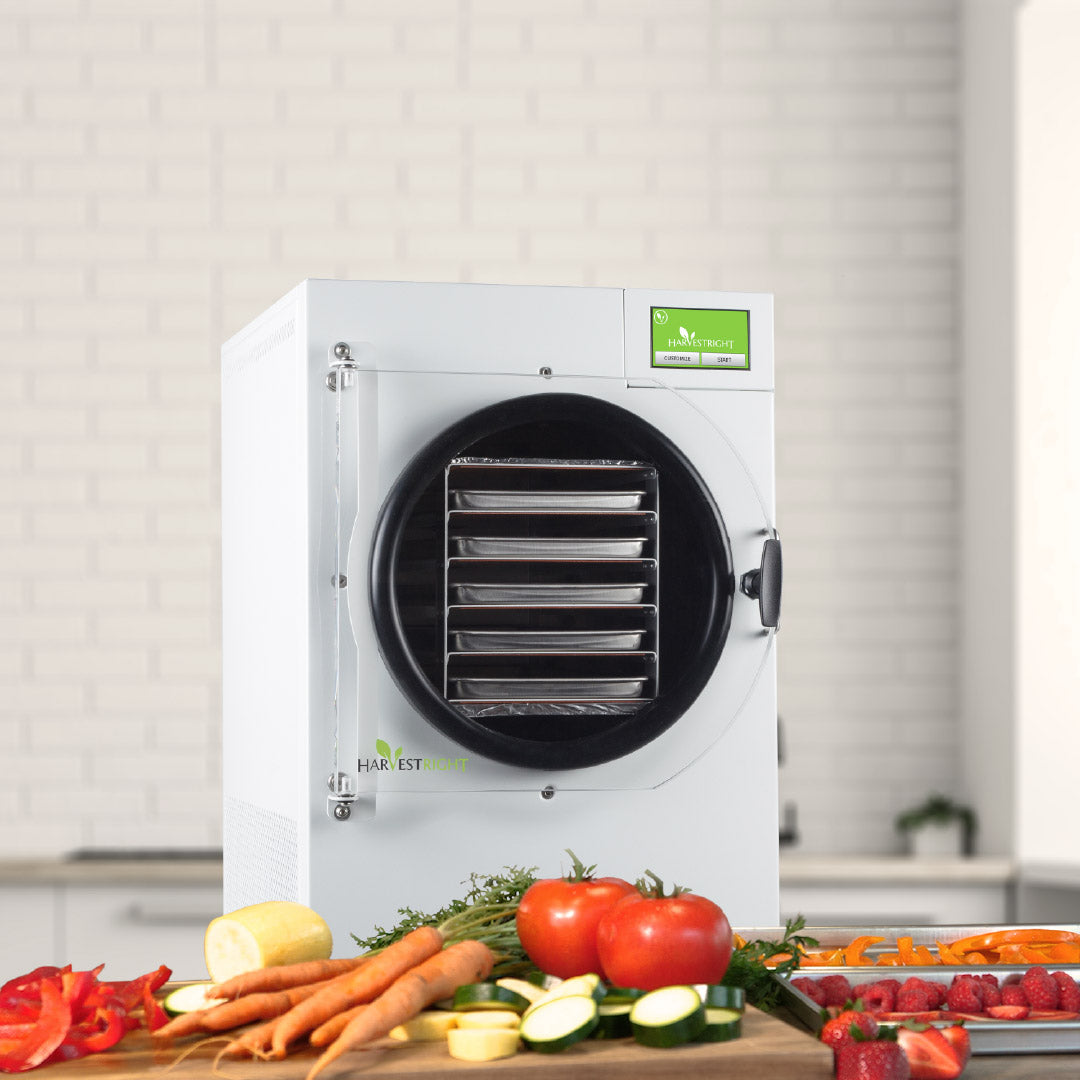
In today’s world, preserving food at home is more important than ever. Whether you’re looking to cut down on food waste, build an emergency food supply, or make the most of seasonal produce, a freeze dryer can be your best tool.
Unlike traditional methods like canning or dehydrating, freeze drying retains up to 97% of nutrients, keeps food fresh for up to 25 years, and is incredibly easy to do at home—especially with a Harvest Right Freeze Dryer.
In this guide, we’ll share expert tips and tricks for DIY food preservation, ensuring you get the most out of your freeze-drying experience.
Why Choose a Freeze Dryer for DIY Food Preservation?
A freeze dryer offers several advantages over traditional food preservation methods:
✅ Longer Shelf Life: Foods can be stored for up to 25 years without losing flavor or nutrients.
✅ Nutrient Retention: Keeps up to 97% of vitamins and minerals, compared to 60% in dehydrated food.
✅ Preserves Texture & Taste: Once rehydrated, freeze-dried food looks and tastes just like fresh.
✅ Reduces Food Waste: Save excess food before it spoils and repurpose leftovers.
✅ Ideal for All Food Types: Works for fruits, vegetables, meats, dairy, full meals, and even desserts.
If you’re serious about self-sufficiency and food security, a Harvest Right Freeze Dryer makes DIY food preservation effortless.
Getting Started: How to Freeze Dry at Home
Want to try freeze drying at home? Here’s a step-by-step guide:
Step 1: Choose the Right Foods
Almost anything can be freeze-dried, but here are some great options for beginners:
🥕 Vegetables: Carrots, bell peppers, potatoes, onions
🍓 Fruits: Strawberries, bananas, apples, blueberries
🥩 Meats: Chicken, beef, turkey, fish
🥛 Dairy: Cheese, yogurt, milk, butter
🍜 Full Meals: Soups, stews, pasta dishes, casseroles
Pro Tip: Blanching vegetables before freeze drying can help retain their color and texture!
Step 2: Prepare Your Food
-
Wash and chop fruits and veggies into small pieces for even drying.
-
Pre-cook meats and full meals before freeze drying.
-
Spread food evenly on the trays, avoiding overcrowding.
Pro Tip: Flash-freezing food on trays before placing it in the freeze dryer can speed up the process!

Step 3: Start the Freeze Drying Process
A Harvest Right Freeze Dryer takes care of the work for you:
1️⃣ Freezing Phase: Food is rapidly frozen to -40°F.
2️⃣ Vacuum Phase: Ice turns into vapor (sublimation), removing moisture.
3️⃣ Final Drying Phase: Remaining moisture is removed, making the food shelf-stable.
This process typically takes 24–48 hours, depending on the food type.
Pro Tip: Keep an eye on the machine’s humidity levels to ensure optimal drying!
Step 4: Store Freeze-Dried Food Properly
To keep your food fresh for years, store it in:
- Mylar Bags with Oxygen Absorbers – Best for long-term storage.
- Vacuum-Sealed Jars – Great for everyday use.
- Airtight Containers – Keeps snacks fresh and crisp.
Pro Tip: Label bags with the food type and date for easy organization!
Expert Tips for DIY Freeze Drying
✔ Start Small: Experiment with different foods before bulk freeze drying.
✔ Batch Similar Foods Together: Drying similar foods at the same time improves efficiency.
✔ Monitor Humidity & Temperature: Store freeze-dried food in a cool, dark place to maintain quality.
✔ Rehydrate Like a Pro: For best results, add warm water and wait a few minutes before eating.
✔ Try Fun Recipes: Use freeze-dried ingredients for smoothies, soups, camping meals, and emergency kits!
A Game-Changer for Home Food Preservation?
With a Harvest Right Freeze Dryer, DIY food preservation has never been easier. Whether you’re a prepper, homesteader, or simply looking to save money, freeze drying maximizes food storage, reduces waste, and keeps your pantry stocked with nutritious meals.
If you’re ready to take control of your food supply, check out Harvest Right Freeze Dryers at Juicerville.com and start preserving food like a pro!